
The Ideal "Ideal" Torte

When I call my mother to ask her for a family recipe, I always make sure to have a pen, paper, and at least a hour set aside for the conversation. You see, more times than not, there is no recipe—not one written down that is. These recipes, born in the Soviet Union and passed down from woman to woman over the years, have simply been put to memory and rely more on basic know-how and techniques than on rigid instructions.

For myself, I’ve found that the best method of learning my family’s arsenal of dishes has been to just get in the kitchen with my mother and aunts. But, either because I was too busy chopping onions to take notes or the few scribbles I did take are barely legible, I frequently find myself sitting down for these lengthy (somewhat exasperating) phone calls.
Mom: “So, you start with four eggs…”
Me: “But I thought last time you said five."
Mom: “Oh, hmm…Ok, nu horosho. Alright. What size are your eggs? If large, start with…actually start with six eggs.”
Me: “Mom, last time you gave me the recipe, it was for five eggs. Now you’re telling me six?!”
Mom: “Ok, ok. Start with five eggs…”
You can count on that happening a few times, but it doesn’t stop there. Forget about using traditional measuring cups or spoons and most of the time, ingredients are measured “na glas,” by eye anyways.
Mom: “So then you add… you know that little orange mug with the red flowers I have? I think we bought it that one time at T.J.Maxx? Anyways, you add two orange mugs of flour to the mix. But, make sure you don’t fill the mug to the top! You fold the flour in, and then you see whether the tyesta (dough) needs more. Add more if so, na glas. You know, I’ve showed you!
Me: “Ok…”
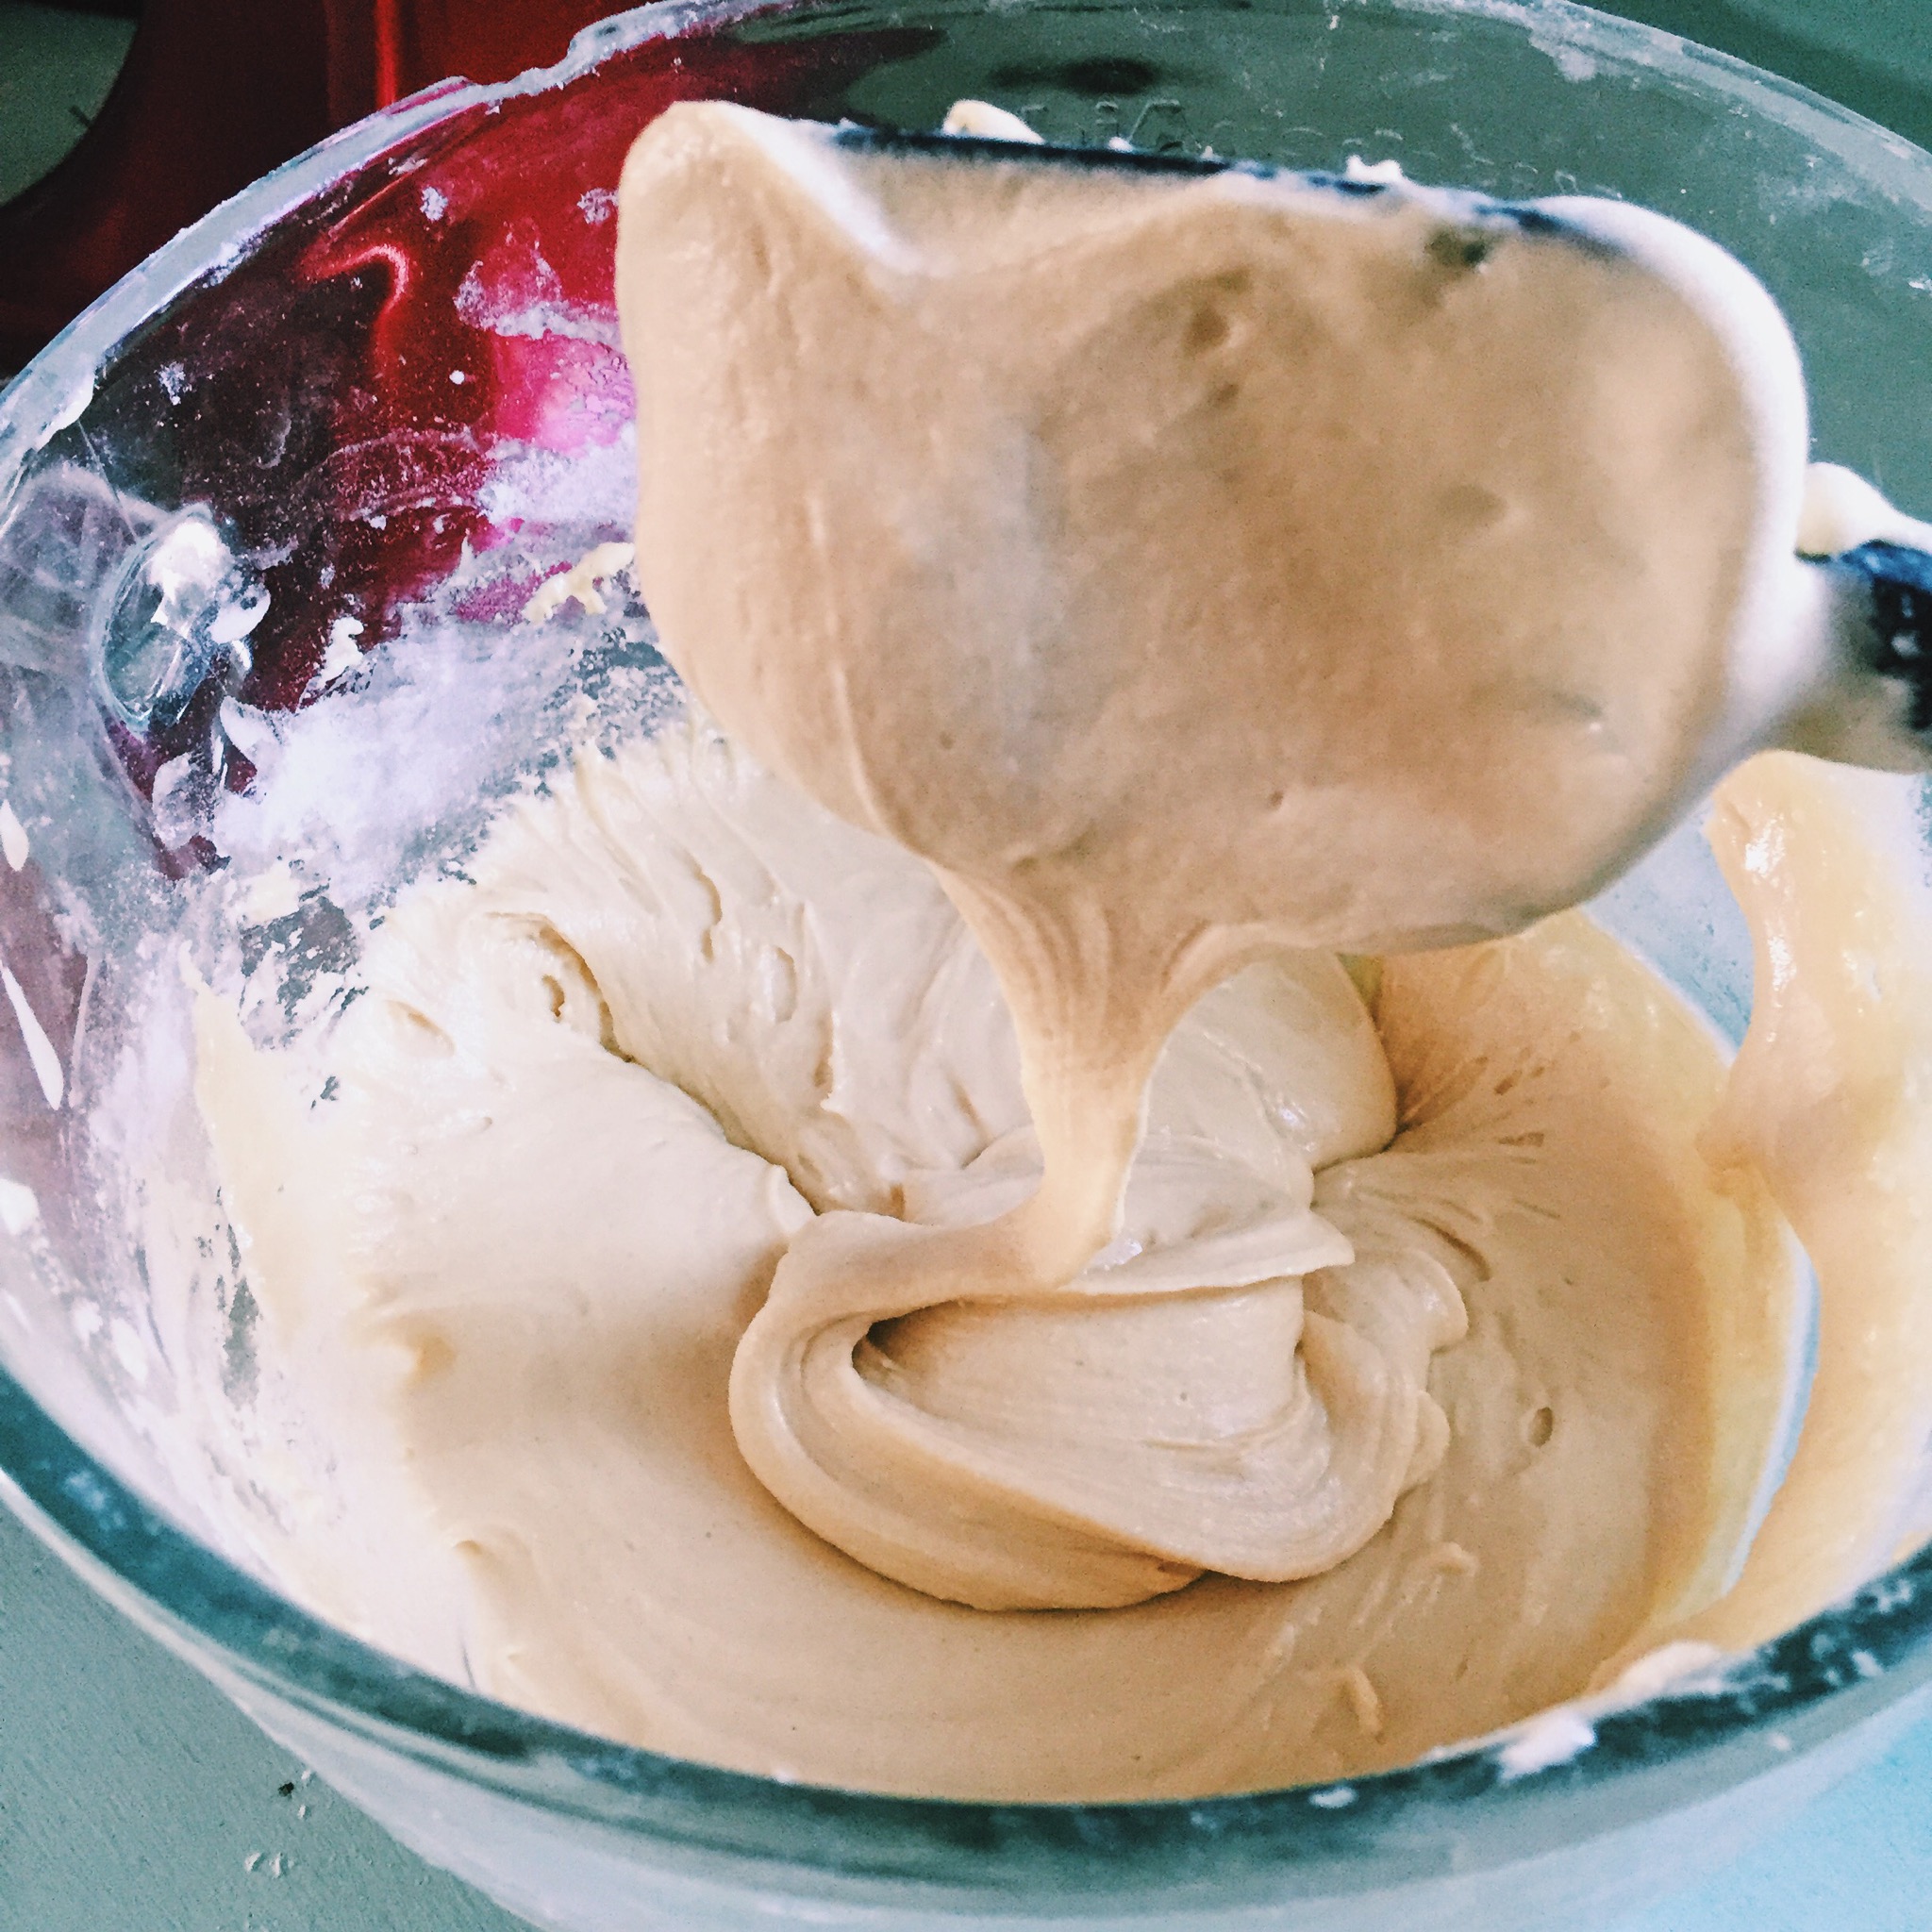
Mom: “Yeah, you know… it should look like thick sour cream. Ok, then you add a little teaspoon, you know, those really little ones I have…”
This will go on and on until I’ve somehow managed to write down what I’d barely call a recipe—half in Russian, half in English, but unreadable to any other person except me.
Which leads me to introduce to you this blog’s first recipe, my mother’s speciality: Ideal torte (pronounced “Ee-dee-al”). Let’s not talk about the number of phone calls it took to get this recipe just right :)


Georgians aren’t very big on sweets though, since their succulent fruits, either fresh or cooked into preserves, are desserts in and of themselves. But on special occasions, they’ll indulge on pastries and cakes, introduced by the sweet-tooth Russians.


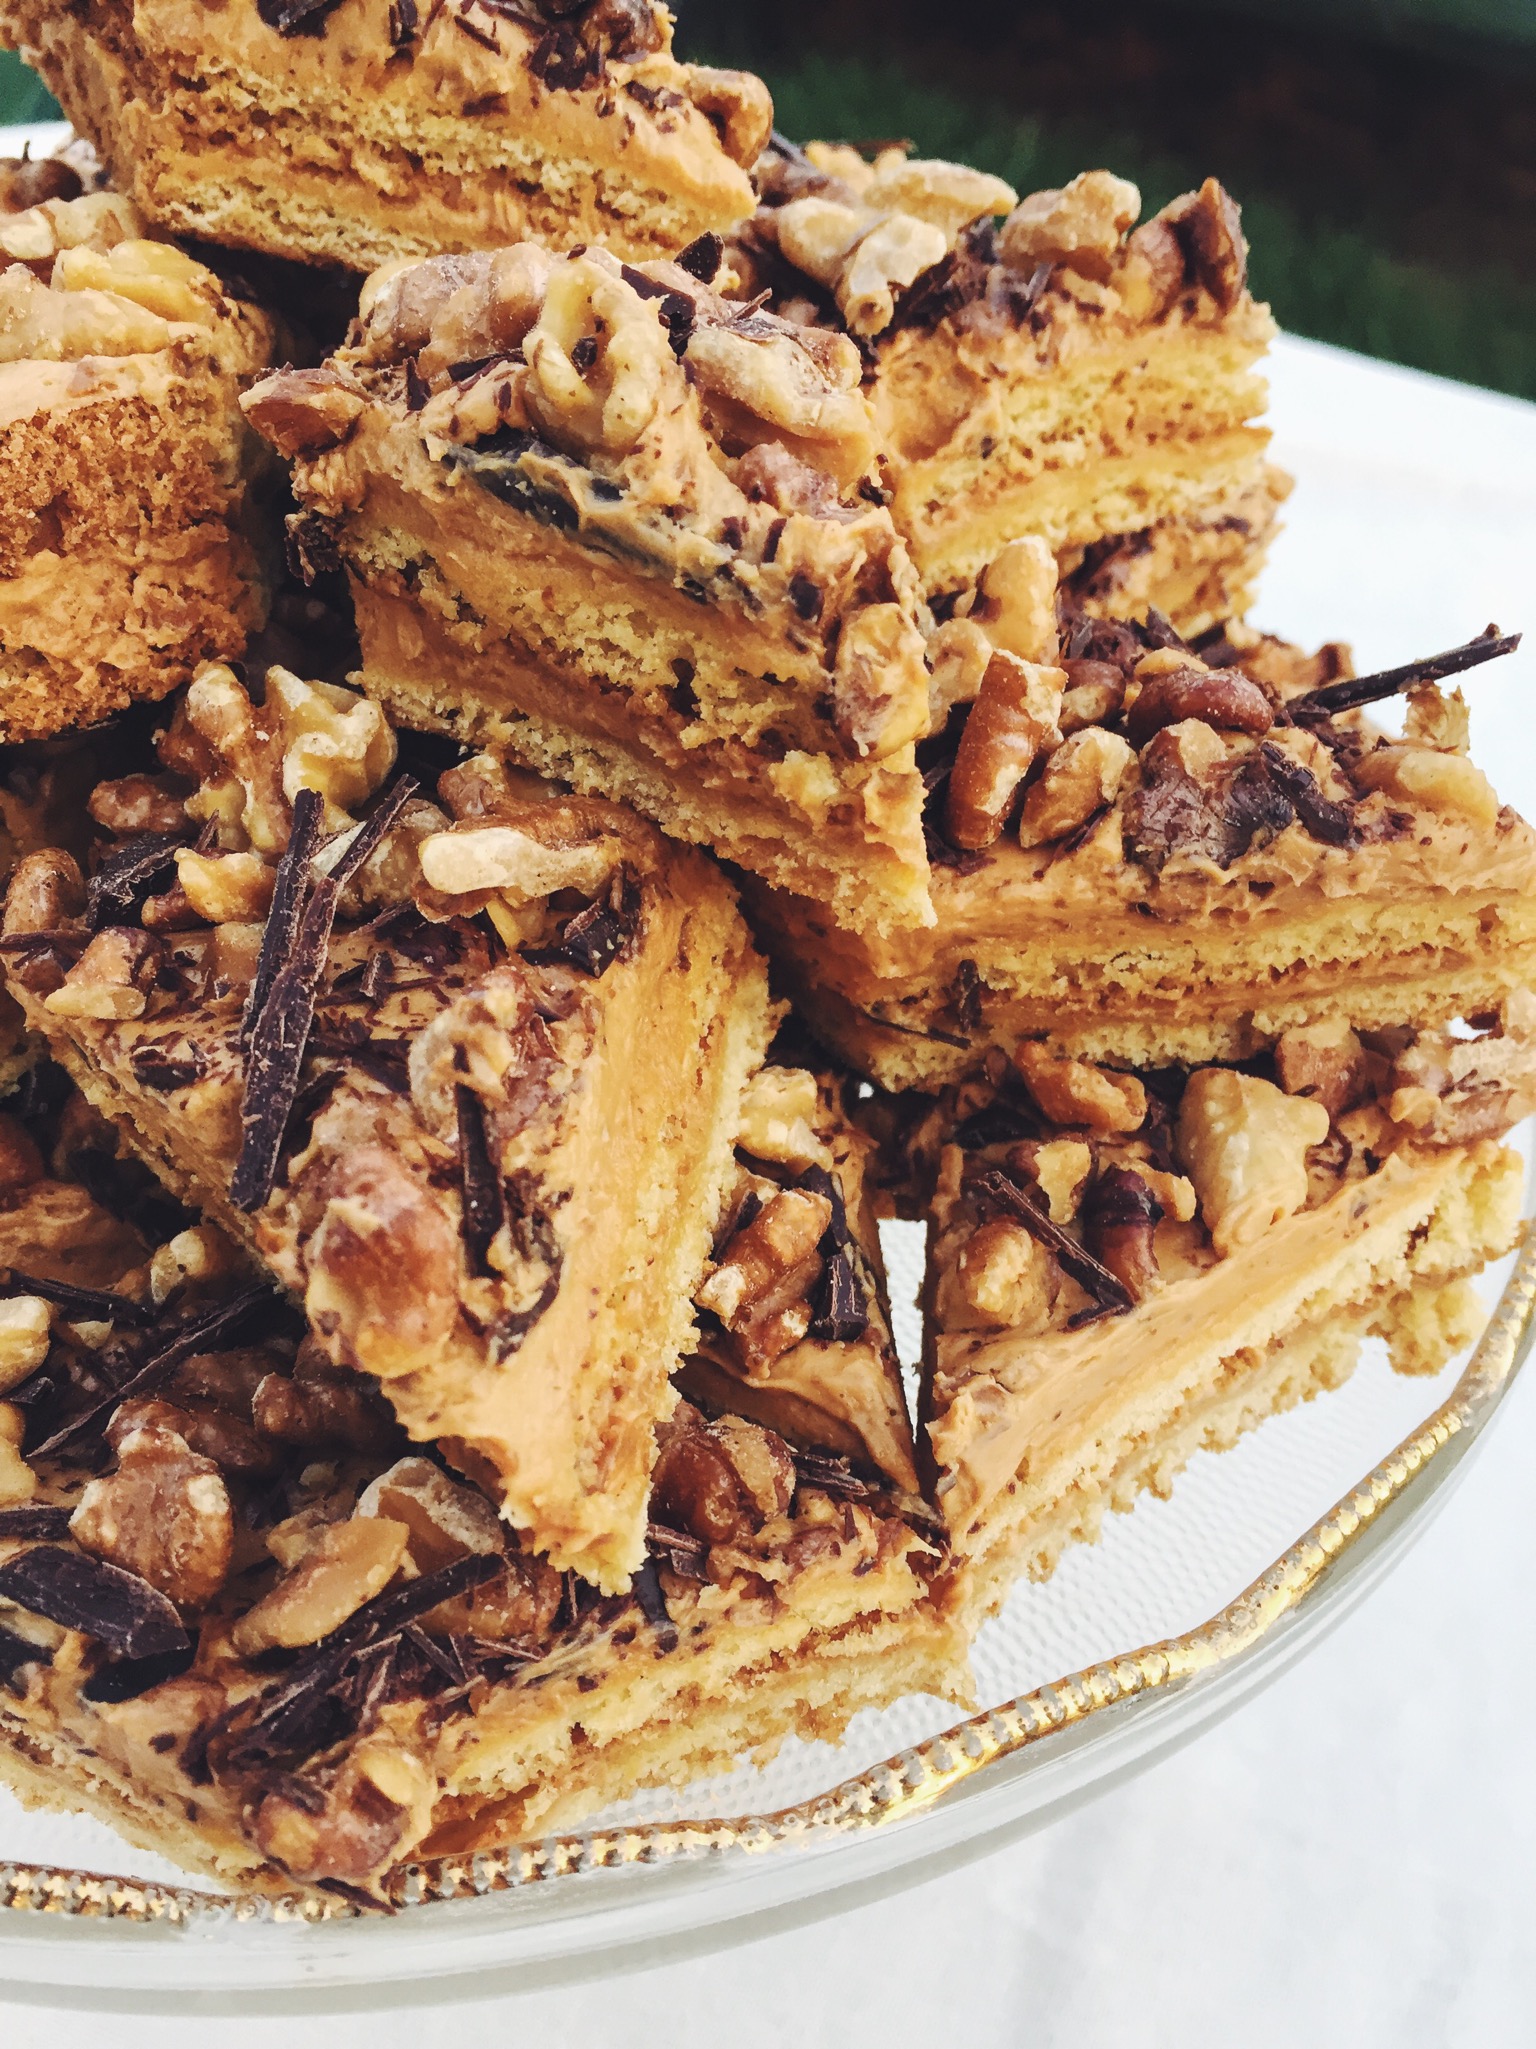
My family, although they love their fresh fruit, will never give up their sweets and this one in particular is always requested. Between the chew of the cake, the crunch of the toasted walnuts, the dark chocolate’s melt on the tongue, and the creamy dulce de leche filling that brings it all together, this honey-layer cake comes out toothsome and addicting, not unlike a candy-bar. We usually save this cake for special occasions, but, if you haven’t experienced the ideal Ideal already, then I say… what are you waiting for?
Ideal Torte
The batter and cream are pretty basic and take no time at all to make, but there are a few snags that will delay you from experiencing the “ideal” cake. First, unless you buy ready-made dulce de leche, I recommend cooking the sweetened condensed milk ahead of time. Secondly, the batter should sit at least a hour or two before spreading it onto the baking sheets. In addition, once the cake is made and assembled, it does benefit from sitting at least a day minimum to let all the flavors meld and the cake to soften. Traditionally, this cake is cut into diamond shapes.
Cake Layer:
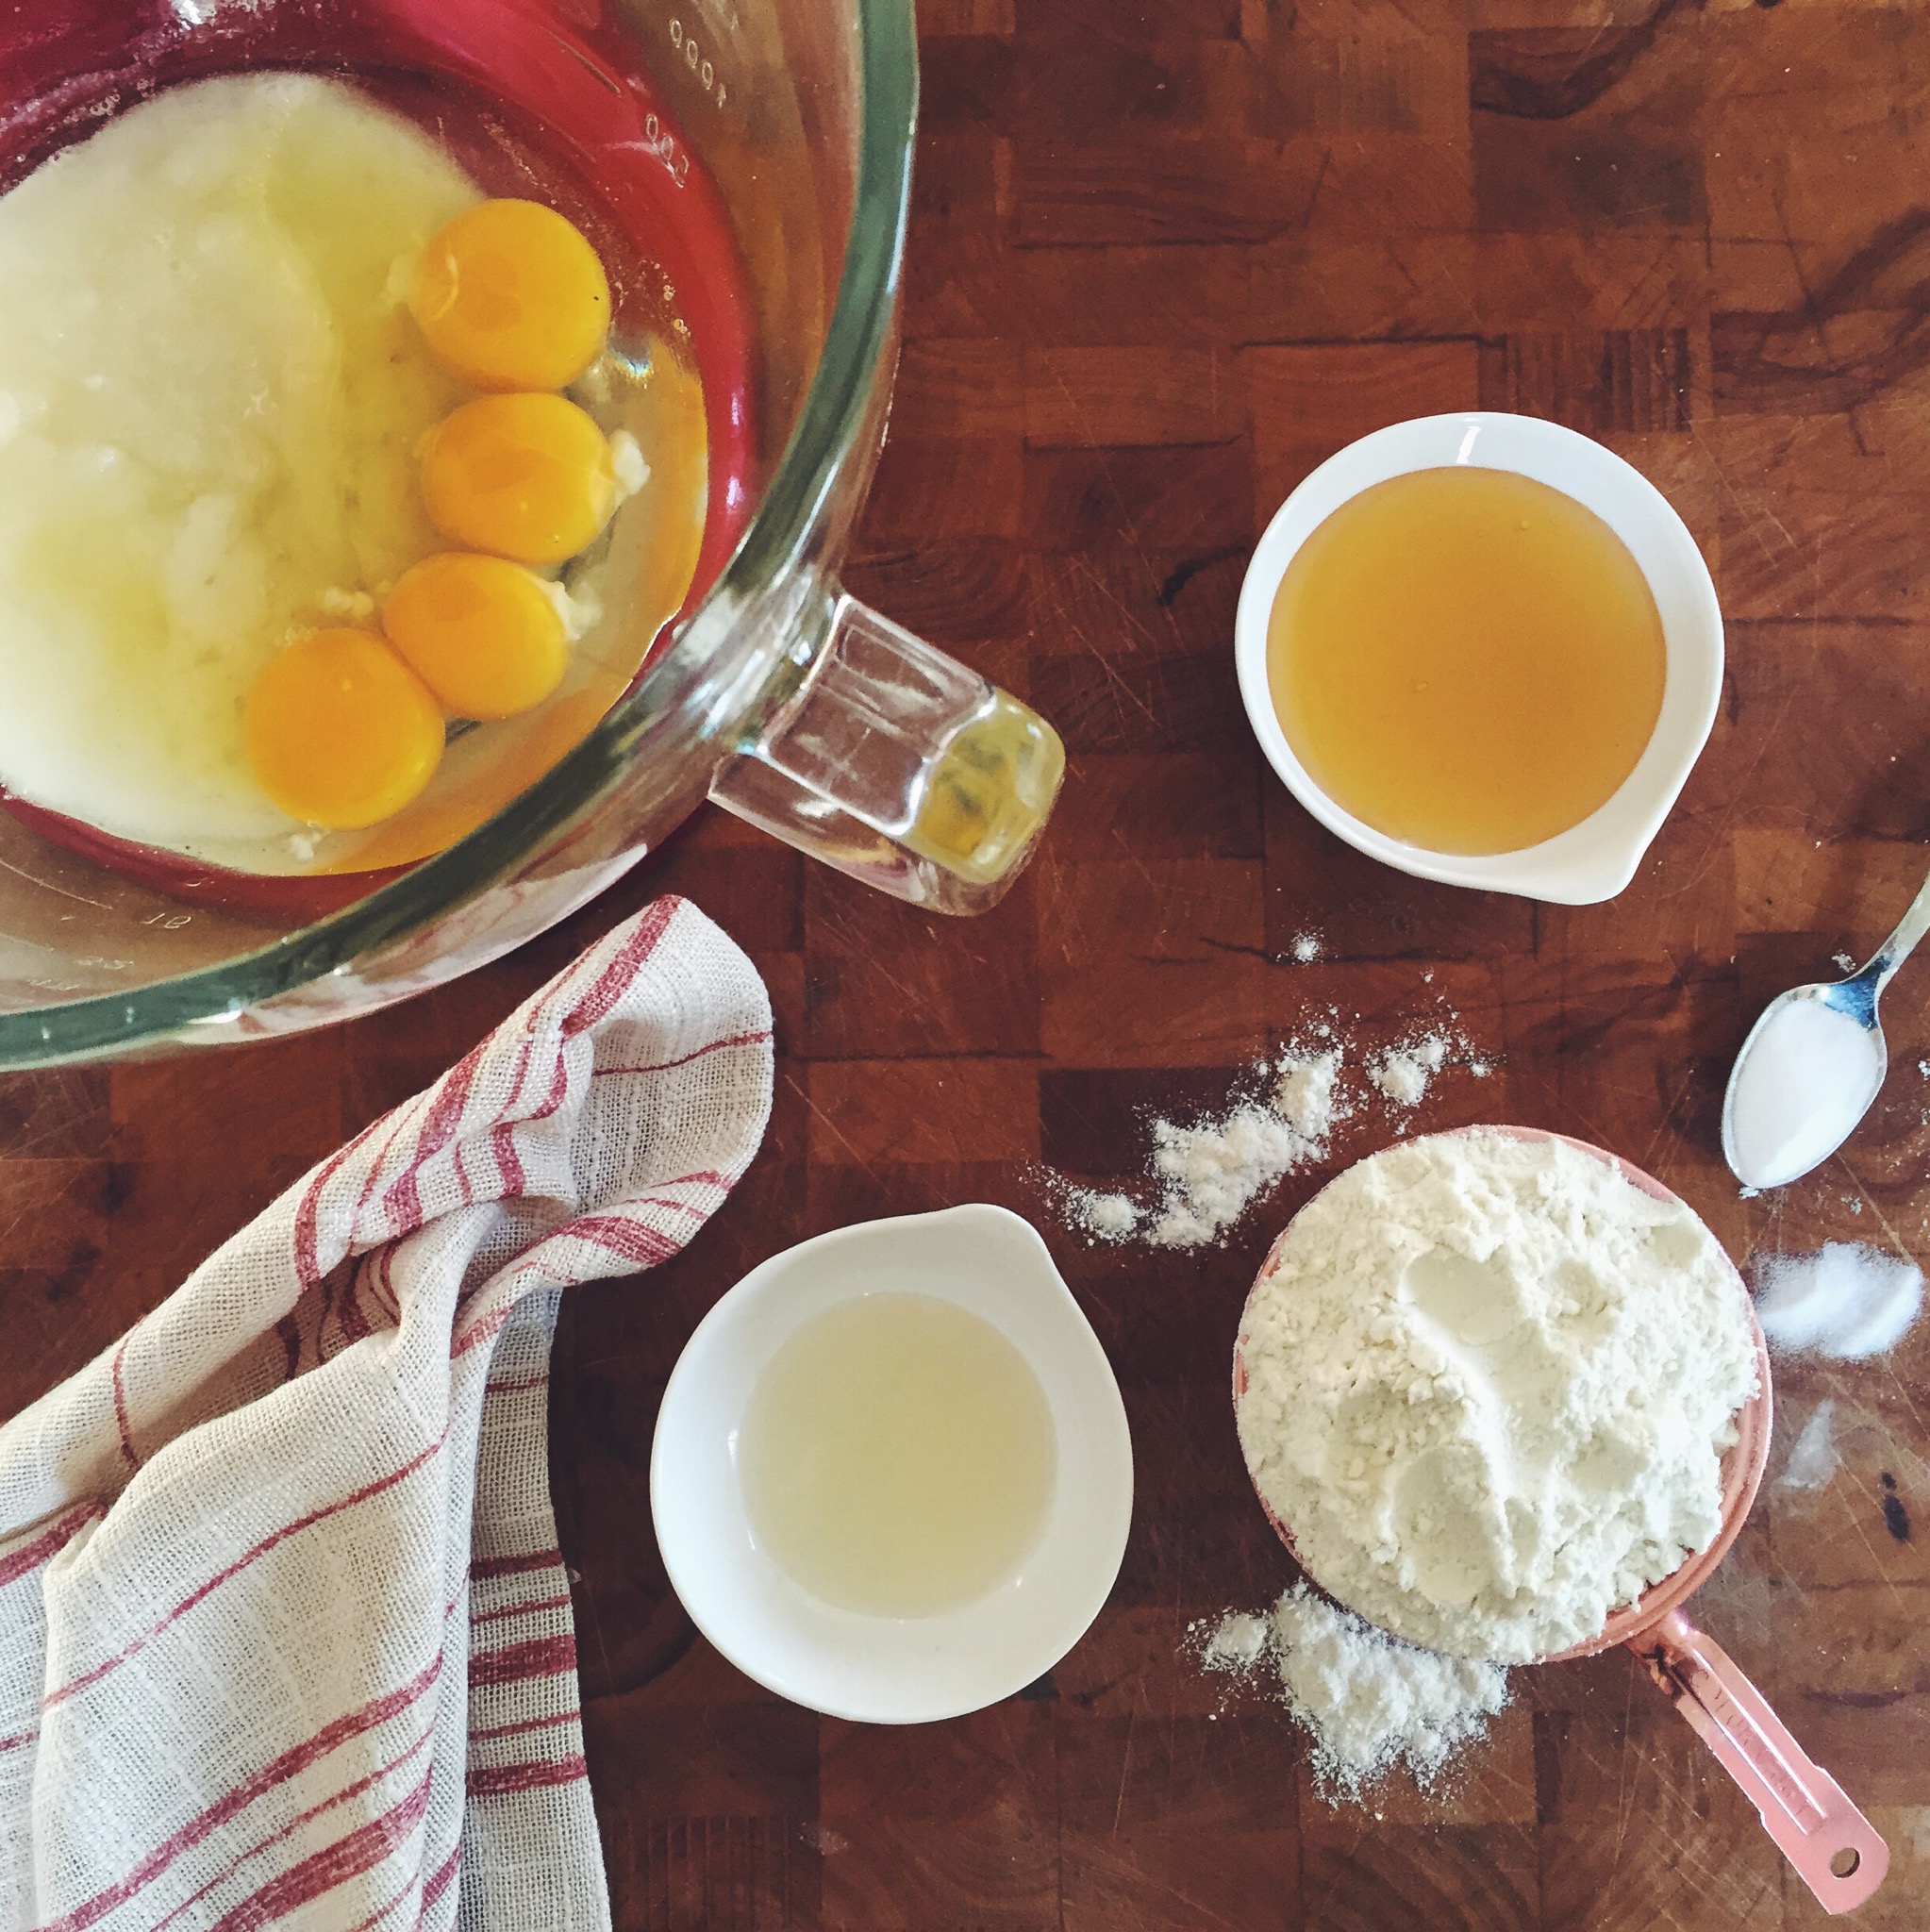
4 eggs
1 ⅓ cup sugar
¼ cup honey
1 teaspoon baking soda
½ teaspoon distilled white or apple cider vinegar
2 ⅓ cup all-purpose flour
Filling:
1 can of sweetened condensed milk or 14 ounces of dulce de leche
1 cup (2 sticks) unsalted butter, room temperature
1 teaspoon vanilla extract or ¼ teaspoon vanillin
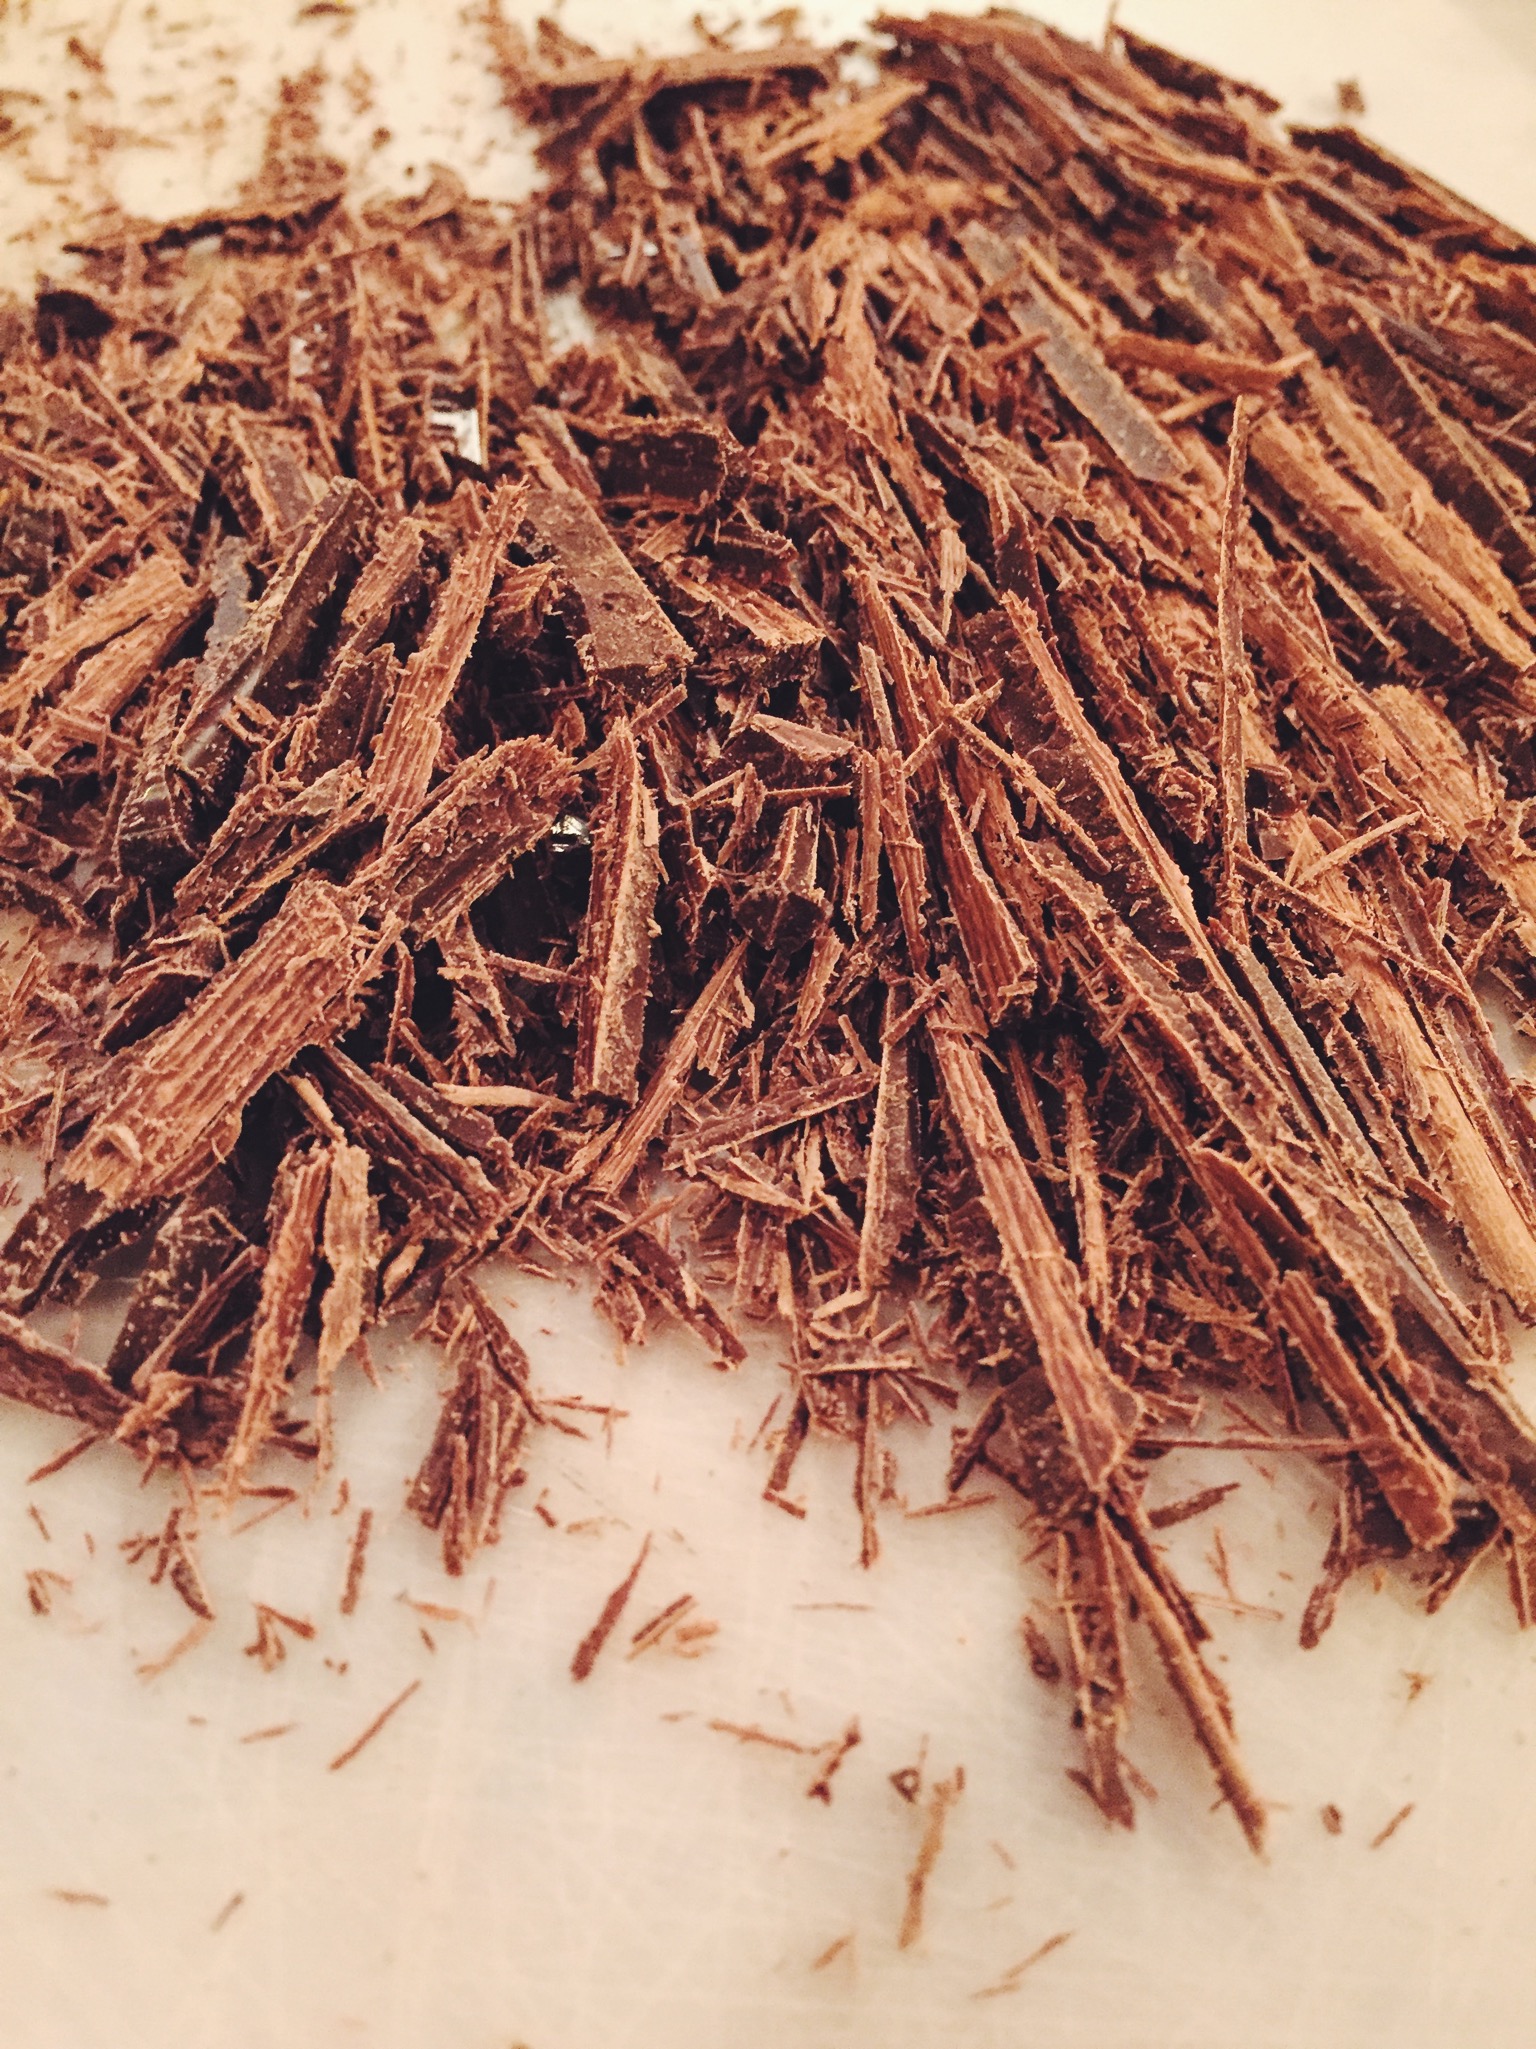
4 ounces dark chocolate, chopped into shavings
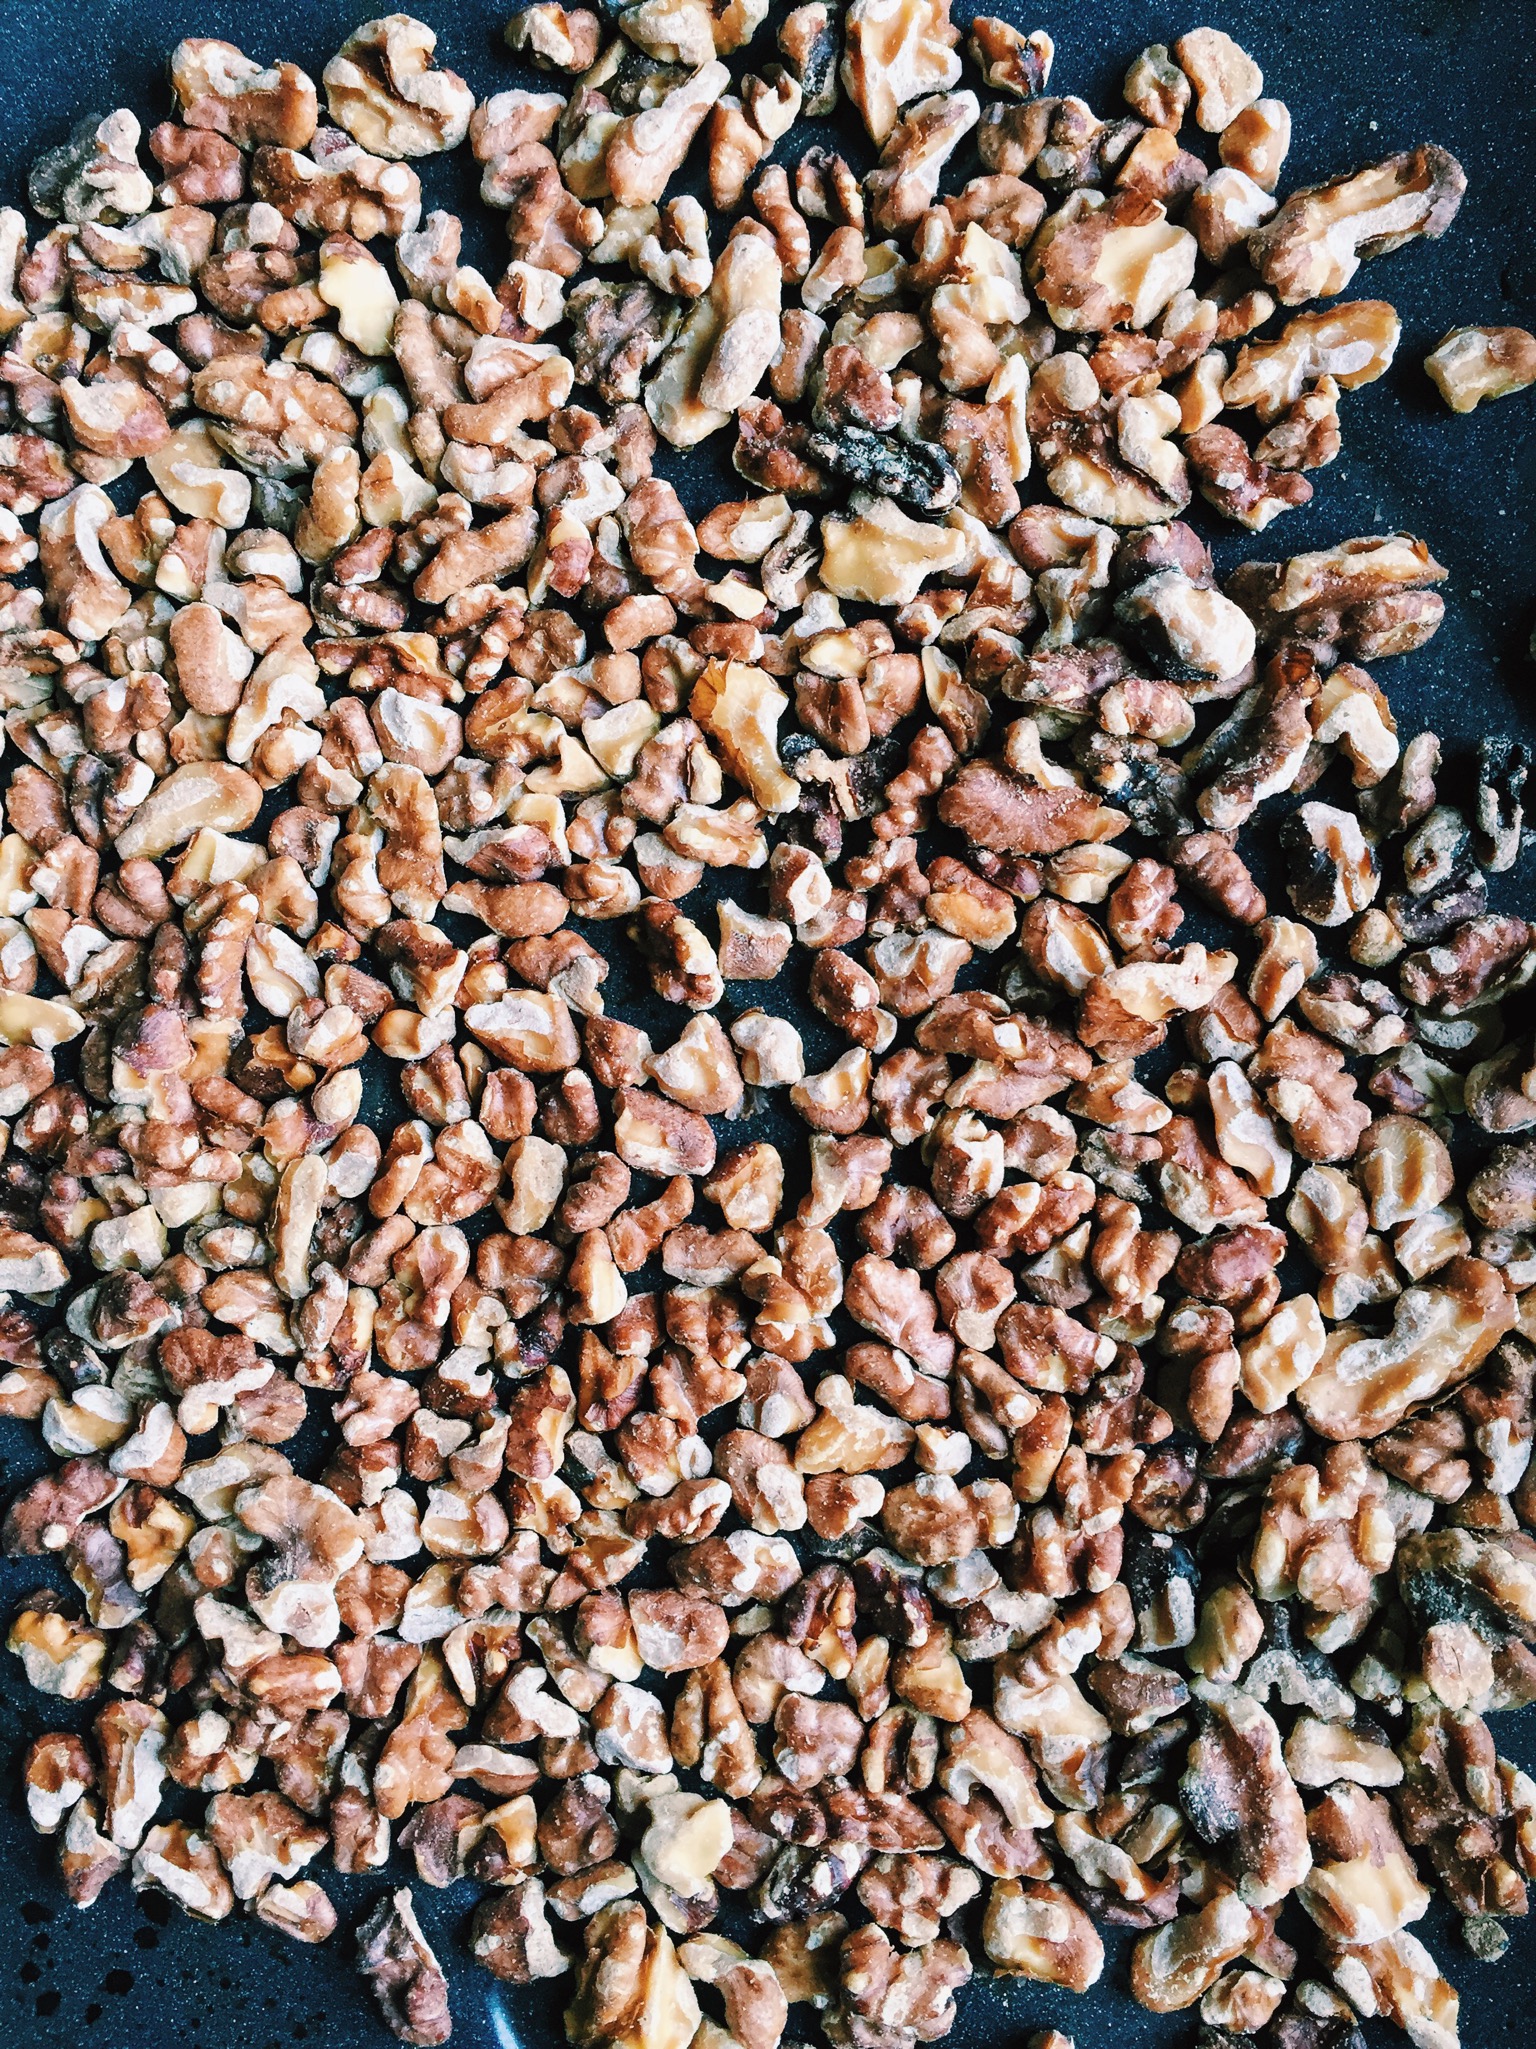
1 ½ cups walnuts, toasted and chopped
Make the dulce de leche: Strip the can of condensed milk of its wrapper and place in a large saucepan, deep enough to allow you to cover the cans by 1 to 2 inches of water. Fill the pot with water, again, enough to cover it by an inch or two. Bring the pot of water to a boil, then immediately turn it down to low so that you have a nice, gentle simmer. Cover and allow to simmer for 2-3 hours.
After the simmering time, turn off the heat and allow the cans to come to room temperature before making the filling. Do NOT open cans while they’re still hot! Let them cool completely.
Make the cake: In the bowl of a stand mixer, fitted with paddle attachment, beat eggs and sugar until mixtures becomes thick, fluffy, and triples in volume, 8-10 minutes. Add the honey and continue to beat for another minute. Take the teaspoon of baking soda and add the vinegar to it so that they react. Add this to the mixture and beat until incorporated. With a large rubber spatula, fold the flour in batches until just combined.The batter should be thick like sour cream. Let sit for at least a hour or two.
Preheat oven to 300 degrees F. Line two 10x15-inch baking sheet with parchment paper. Divide the batter between both sheets and spread evenly. Batter will be sticky and hard to spread. Bake the layers for 15 to 20 minutes, they should be lightly golden but still soft to the touch. Let them cool in pan for a few minutes before transferring them to the cooling rack to cool completely.
Prepare filling: In the bowl of a stand mixer, fitted with paddle attachment, beat the butter until light and fluffy. Using a rubber spatula, fold in the dulce de leche a big spoonful at a time. Add the vanilla and mix until everything is incorporated and the cream is smooth. If you cooked your dulce de leche a bit longer and there are still little chunks that just don't want to mix into the cream, that is fine—it will still taste good.
Assemble cake: poke both cake layers with a fork. Place the first layer on serving dish and spread a little less than half of the cream on top. Place the second layer on top and press gently to make sure it sticks. Frost with the remaining cream. Top evenly with walnuts and then chocolate. Plastic wrap tightly and let sit at room temperature for at least a day, ideally two—this will help meld the flavors and improve the texture of the cake. Cut into 2x2-inch diamonds or squares and enjoy! Best served at room temperature, but once cut into, can be refrigerated for up to 3 days.
*It’s very important to keep the water level above the cans at all times, as well as keep the heat very low. Keep a watch on the water level and continue topping off the water if it starts to drop.
**Although vanilla extract is far superior to it’s knock off, vanillin, this was what was all available to my mother and others in the Soviet Union. She still uses it today at times, despite my disparaging of their old-school way. I do admit, however, that it imparts a distinct flavor to the cream that the vanilla extract just doesn't match. So, maybe more so out of nostalgia and tradition, I make an exception here and use vanillin.